Saturday, June 27, 2015

~ Clover clips and a quick sunglass holder ~

Trying out my new Clover binding clips...
 
 
Since I didn't have time for a large project, I opted for something quick and easy.
 
 
Polly's new sunglass holder.
 
This is such a quick and easy project.
I used pre-quilted fabric and a tiny bit of bias binding.
Nothing to it!


Friday, June 26, 2015

Taking a short break....


I'm working on a little something for the 4th for my grandbabies...
 
 
Be back soon.


Monday, June 22, 2015

Samoas Cookie Pie

Sound yummy?
 

  Looks yummy too, huh?
 
Mr. Fisherman can't wait for Girl Scout cookie sales each year - his favorite - Samoas.
 
I came across the following recipe and decided to give it a try.

 Samoas Cookie Pie
Yield: one 9 inch pie

Ingredients:
Pie shell
1/2 cup unsalted butter (one stick) melted
1 large egg
1/2 cup light brown sugar (packed)
1 teaspoon vanilla
1 1/4 cup all-purpose flour
1/4 teaspoon salt

 Pie filling
3/4 cup semi-sweet chocolate chips - for sprinkling
1 1/2 cups sweetened shredded coconut
10 ounces sweetened condensed milk (about two thirds of a 14 - ounce can)
4 to 5 ounces salted caramel sauce (regular caramel sauce may be substituted)
3/4 cup semi-sweet chocolate chips - melted for drizzling

Directions:
1. Preheat oven to 350 degrees. Spray pie dish with cooking spray. Set aside.
 
2. In a large, microwave-safe bowl melt the butter, about 1 minute on high power.
 
3. Slowly add the egg to temper the butter so you don't end up with scrambled egg.
Add brown sugar, vanilla, and whisk until smooth.

4. Add the flour, salt, and stir until just combined; don't over mix.

5. Turn batter out into prepared pie dish, smoothing the top lightly with a spatula. Bake for about 10 to 12 minutes or until edges firm up slightly and center will have begun to set up a bit. It's by no means done, but pie will be returned to oven to bake another 25 minutes or so.

6. Remove pie dish from oven, and evenly sprinkle 3/4 cup chocolate chips over the crust.

7. Evenly sprinkle the coconut.
 
8. Evenly drizzle the sweetened condensed milk.
 
9. Evenly drizzle the caramel sauce.
 
10. Return the pie to the oven and bake for about 25 minutes or until the edges are slightly bubbling and the center looks set. The crust will firm up more as the pie cools off. Keep a close eye the last 10 minutes to make sure your filling is not burning...better a bit undercooked that overcooked.
 
11. Allow pie to cool on wire rack. In the meantime, melt 3/4 cup chocolate chips in the microwave for approximately 1 minute, stirring about every 10 seconds until melted.
 
12. Using a spoon, evenly drizzle the melted chocolate over the pie. The pie does not have to be completely cooled for this step.
 
13. Allow pie to cool on wire rack at least 4 hours. I know it's tempting to slice it sooner, but the filling needs time to set, otherwise it will be runny. The original recipe says you can store it in an airtight container at room temperature for up to 5 days; I stored mine in the fridge and seemed to be fine.

NOW....my conclusion...

While I think this pie was pretty yummy, I wasn't particularly fond of the crust.

 In the future I would like to try a regular cookie dough recipe or a store bought cookie dough for the crust.


I LOVED the filling!


Sunday, June 21, 2015

Three Dudes Quilt block - in progress

I love a scrappy quilt and when I saw this video from Missouri Star Quilt Company, I thought it would be perfect for my first jelly roll.
 
This has to be THE easiest quilt block I have ever made.
 
 
Not only the easiest, but also the fastest.
 I had eight blocks completed in less than 30 minutes.
It's really a fun block to sew.
 
 
The hardest part is trying to decide which strips you want to put together in a block and how you want to lay your blocks out for your finished project.
 
 
There were a few strips that weren't my favorite.
 
 
I left them out.
(I'm not the Camo kinda gal). 
 
Even leaving these strips out and only 30 strips in my jelly roll, I will still be able to make a fairly nice size throw.
 
 
I'm excited to see the end result.


Friday, June 19, 2015

Learned something new....

 
I've been wanting to try my hand at some of the cute little things made from pre-cut jelly rolls, layer cakes, charm packs, etc.
 
 Mr. Fisherman purchased gift cards for me at Christmas from a local quilt/fabric shop. 
 
Yes, I said Christmas.
I just haven't had the time to shop until now.
 
 I thought this might be a good opportunity to try something new.
 
My jelly roll...
 

 After purchasing my jelly roll I learned not all jelly rolls are alike.
 
I checked out a few of the patterns I had in mind and found they took
 40 -  2 1/2 x 44 inch strips to complete.
My jelly roll has only 30 - 2 1/2 x 44 strips.
 
After a bit of (jelly roll) research, I found out the number of strips in a roll may vary by manufacturer or collection.
Some manufacturers have as few as 11 strips and some as many as 41.
 
All I'm saying is...  just be careful when you purchase your jelly roll and make sure you have as many strips as needed for your pattern.
 
This is still a really cute and usable jelly roll, I just may have to rethink my plans for it.
 
I also purchased a box of 50 Clover binding clips.
 
 
I love using bias tape, binding and piping and have been wanting to try these for sometime.
These little clips are a bit pricey and I would probably not have purchased them without a gift card.
 
 But, hey....
Isn't that what gift cards are for -  to buy something you would normally not buy for yourself?
 
 
Have you used these clips?
How do you like them - verses pins?
 
I'm thinking about another washcloth...


Or, maybe even a new Sorbetto...
 
 
Whatever I decide...
I can't wait to try them.

Sunday, June 14, 2015

Crying over spilled....... coffee?


Not me.
I just cut the stain off and keep going....
 
 
Before the coffee stain this was a perfectly good (almost new) bar mop towel.
 
Rather than throw it away, I chose to repurpose this baby into a new washcloth using a bit of bias tape and embroidery.
 
 
Here's how it went...
 
After cutting off the stain I had enough left to cut an 11 1/2 square from the remainder of the bar mop.
 
I then rounded my corners using my fancy schmancy French curve.
 
 
If you don't have a French curve, you can use a coffee cup or saucer to round the corners.
 
 
I serged the edges to keep the towel from raveling.
 
 
 If you don't have a serger, a zigzag stitch will work just fine.
 
  Open your bias tape and pin it right side down on the serged edge.
 
 
Pin all the way around leaving about 2 inches overlap at both the beginning and end of your bias tape. 
 
 
Pinch the overlapped ends together as below and mark the point at which they meet.
 
 
Stitch across this line and trim to 1/4 inch.
 
 
Lay your bias tape flat again and continue pinning.
 

Using a straight stitch, stitch on the fold all the way around.
 
 
Once you have stitched the whole way around, wrap the bias tape over the serged edge to the other side and pin.
 
 
 I usually use the "stitch in the ditch" method to finish sewing my bias tape, but decided to try something different. I used a small zigzag stitch and stitched from the pinned side. I zigged on the towel and zagged on the bias tape....in other words, make sure you catch the bias with one stitch and the towel with the other.
 
You can barely see my zigzag stitches from either side.
 
 
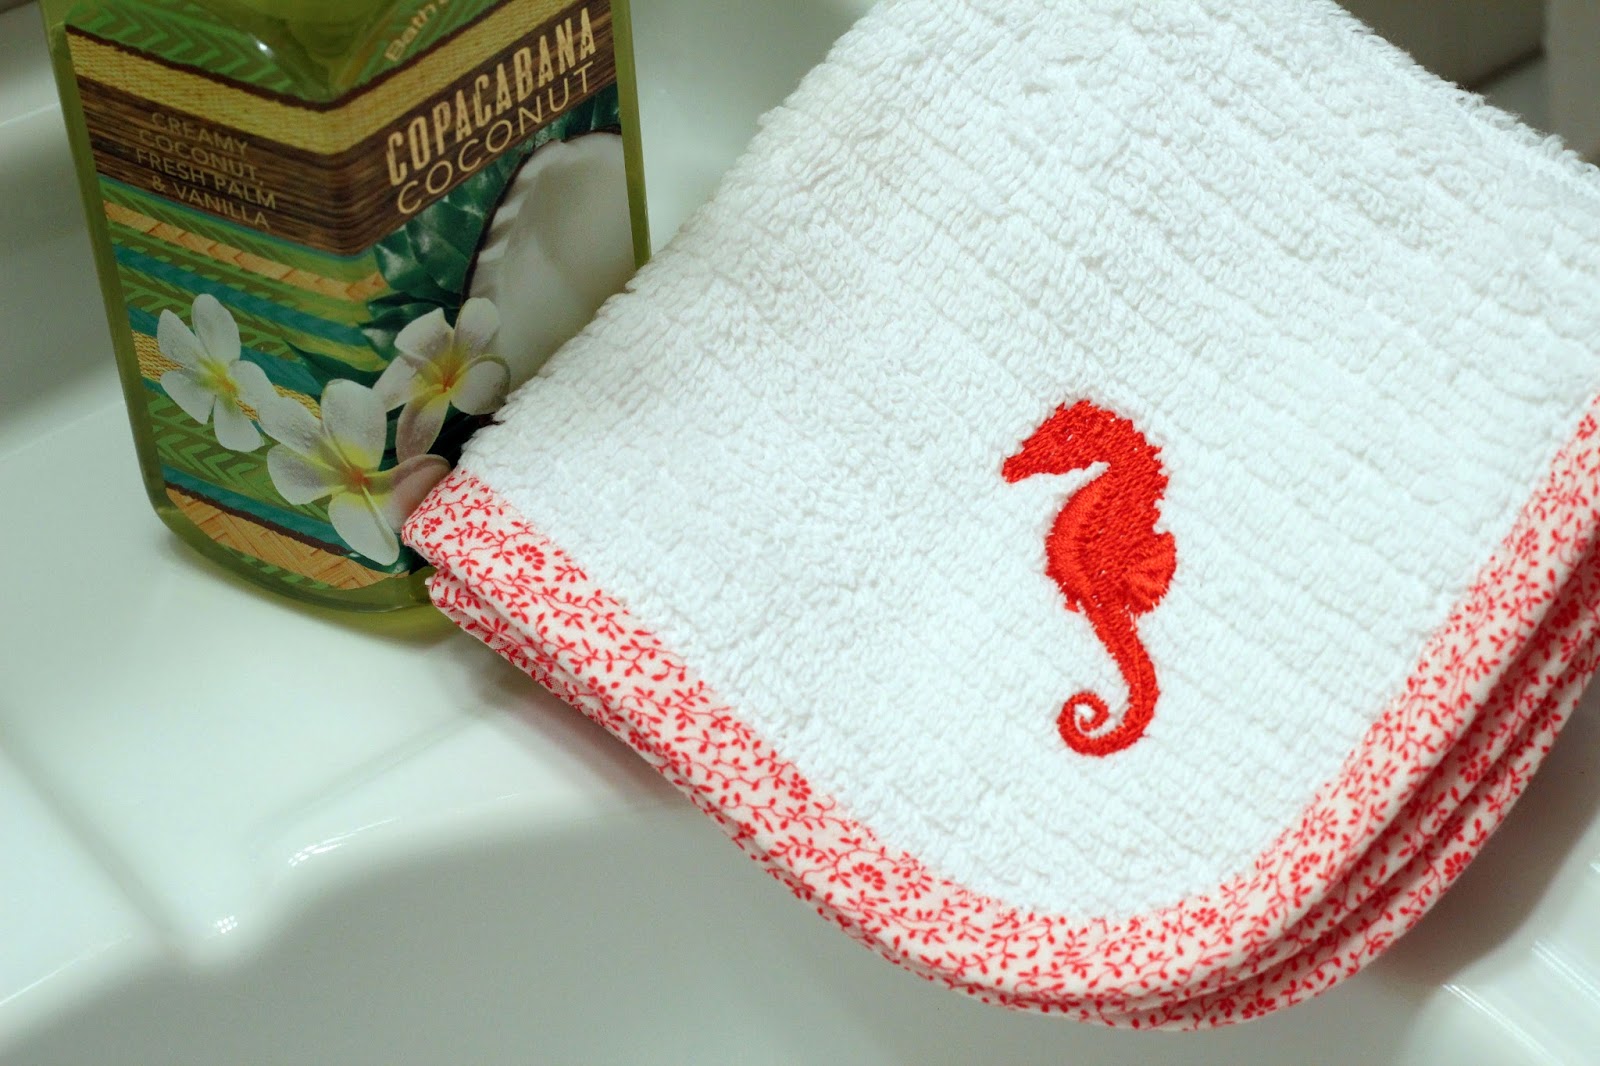
You can stop there and have a perfectly cute washcloth...
 
 
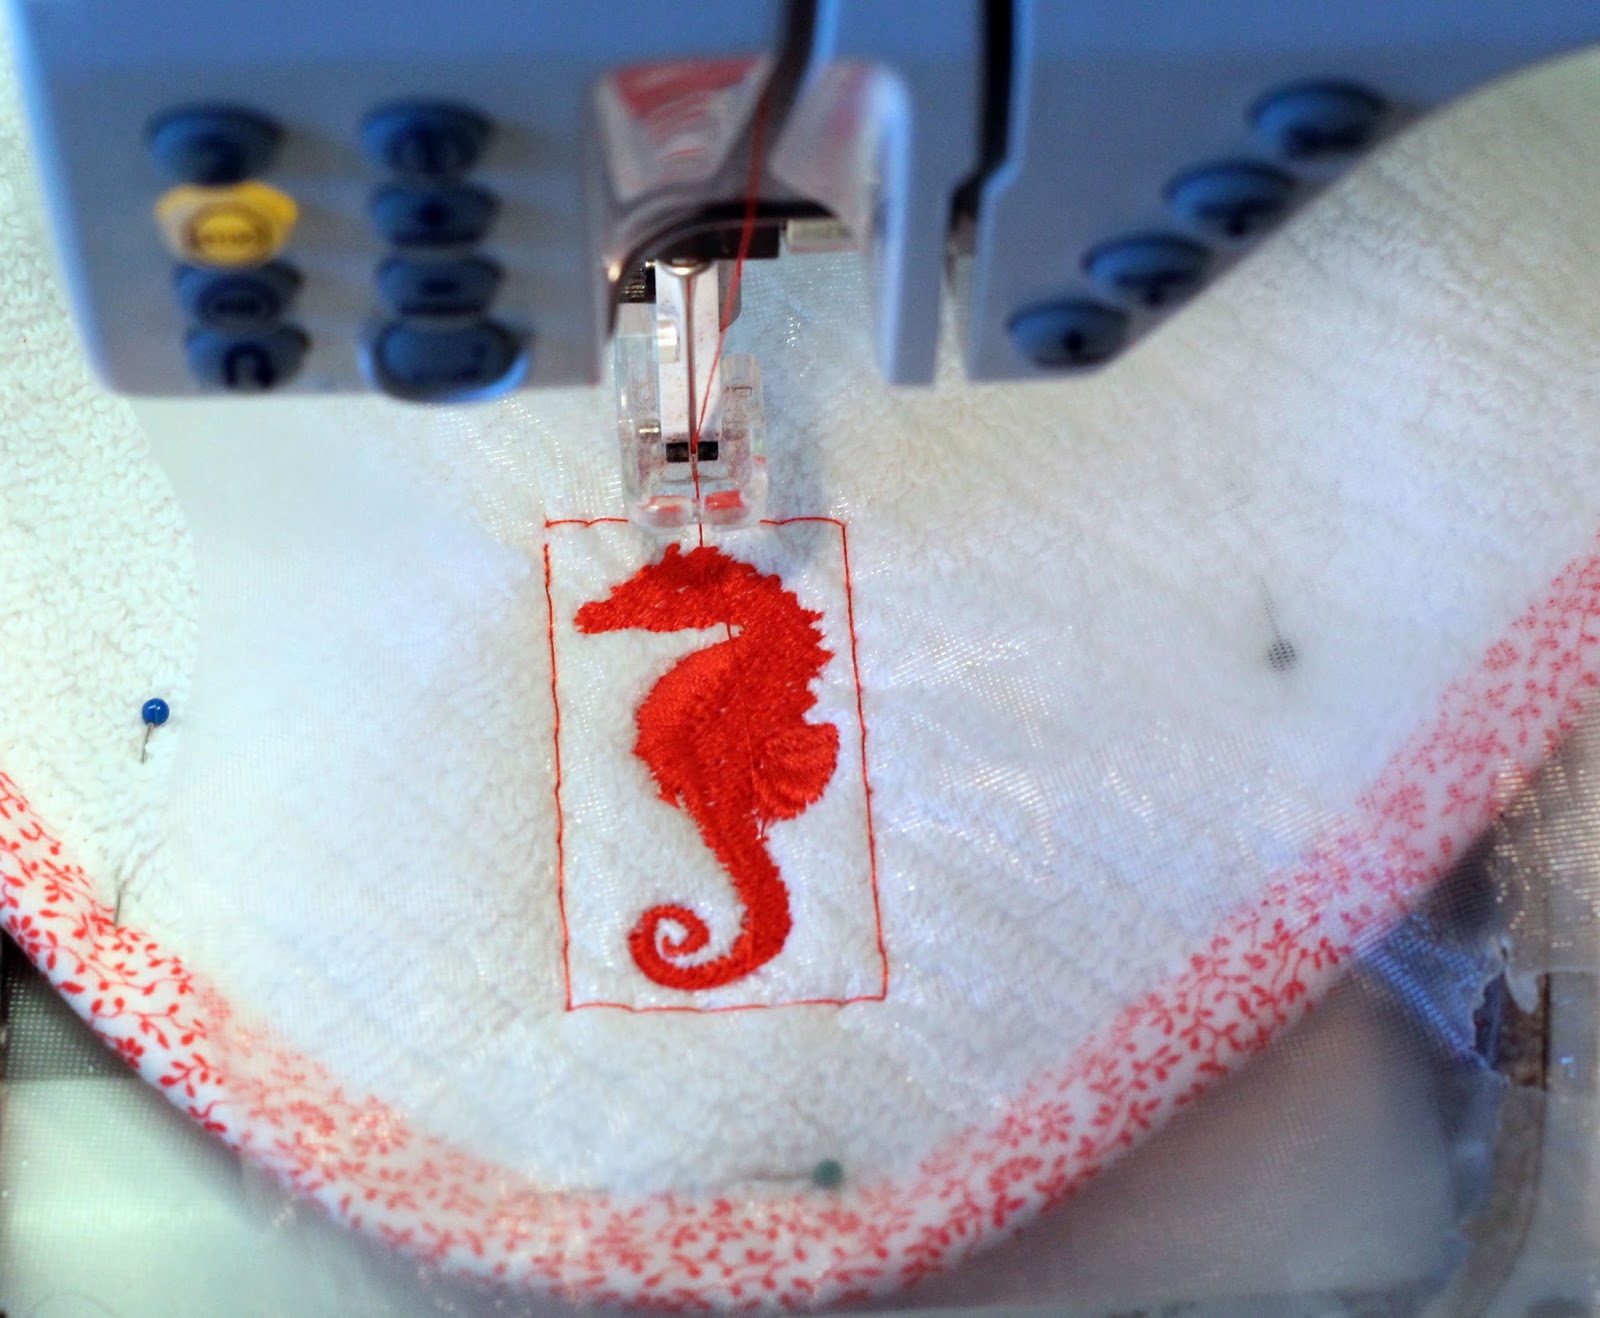
....or add a bit of embroidery.
 
 
And have an even cuter one!
 
 
I'm thinking about stitching up a few more to have on hand for quick gifts, adding
 facial cleanser and a head band.
 
 
 See....
 
 
no need to cry over spilled.... coffee.
 
 
Just cut it off and move on....
 
Happy Monday!
 
 
Linking today to: